Paper Airplane Schematics
Back to main pageI've always liked paper airplanes, and over the years I've developed a couple of my own designs (ones I've never seen in a book or online; I'm sure someone's folded them somewhere else but I haven't seen it). I've tried designing a lot of different planes over the years, but only a few of them have actually worked as good paper airplanes. Here are the folding instructions for two of those that I have had at least moderate success with.
Plane 1
We'll be doing something called a waterbomb base fold to start this plane, which is a little weird if you don't already know how to do it, so here's a video someone made of folding it. I've also got the instructions here, but I think it's a little easier to visualize with a full video rather than step-by-step pictures.
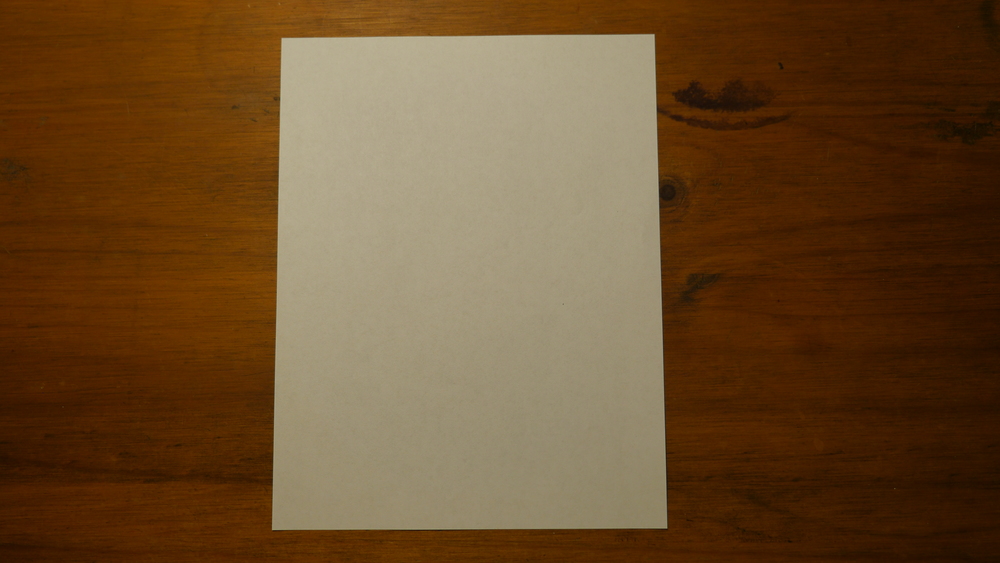
Start with a full sheet of 8½ by 11 piece of paper.
Make diagonal creases.
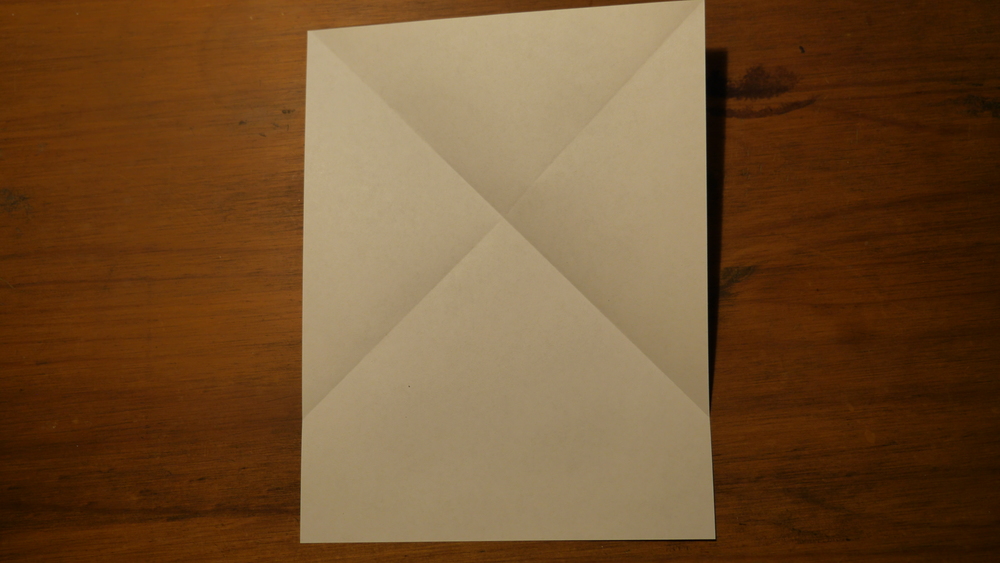
Flip the paper over and crease it through the point the two diagonal creases meet.
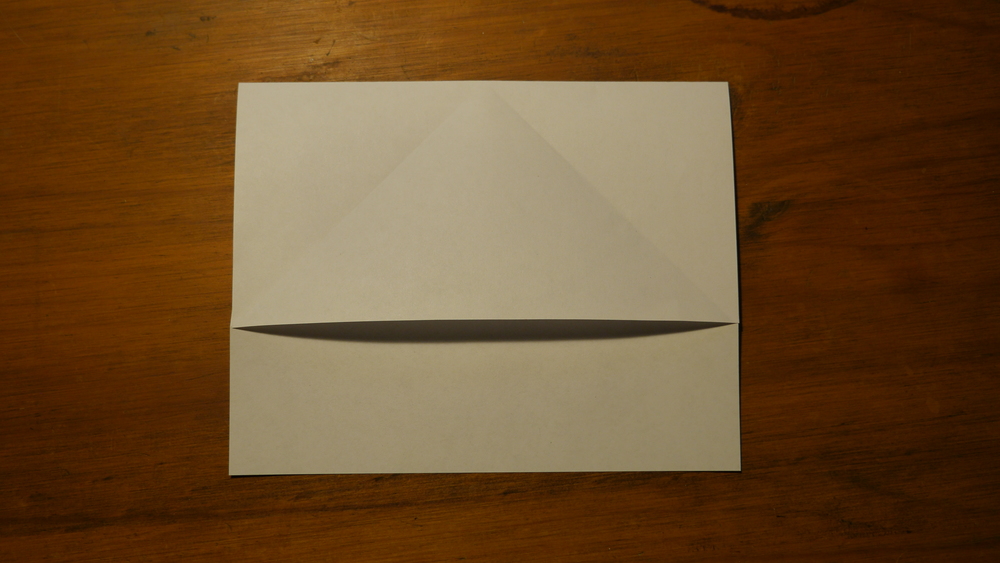
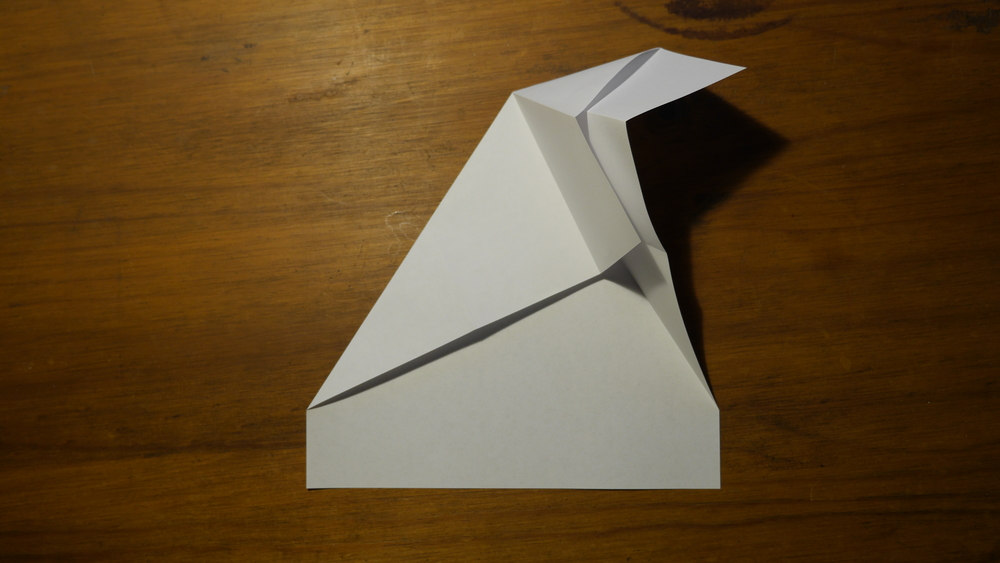
This is the hard part. Flip the paper over, back so that the diagonal folds are valleys, and poke the point where all three folds meet. It should make it pop up, and then you can bring the two ends of the horizontal fold (where it meets the edge of the paper), and pull them together. When it's done, it should look like this:
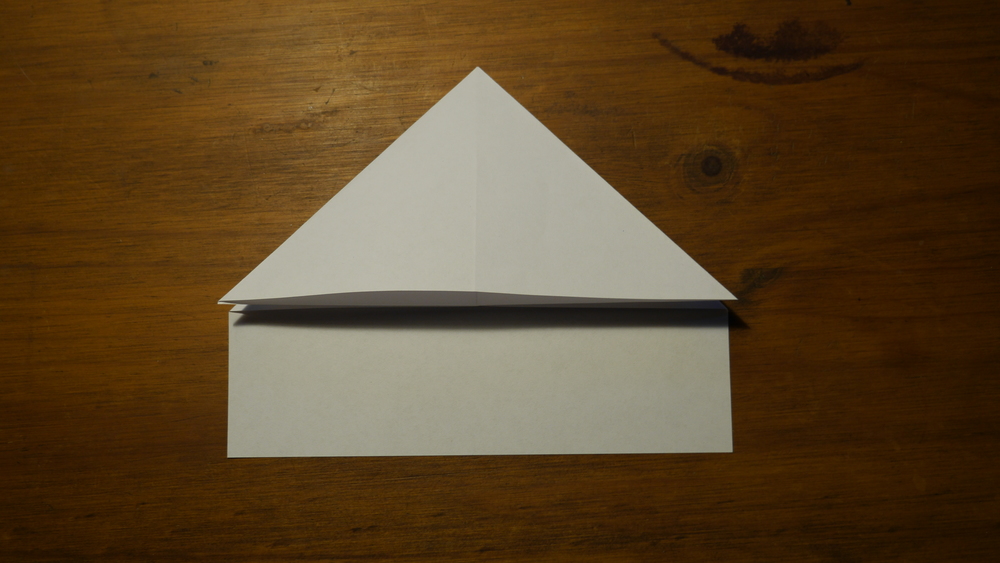
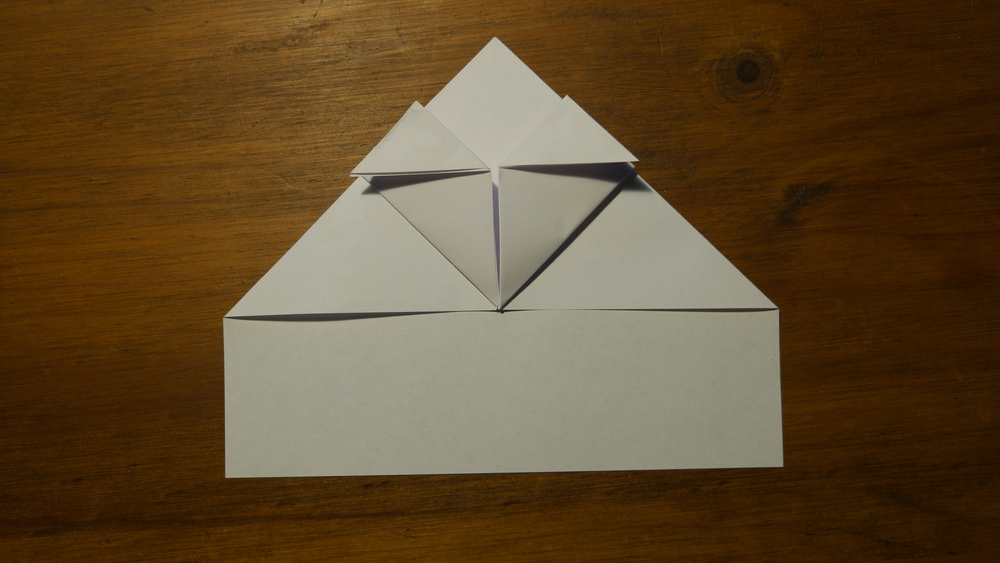
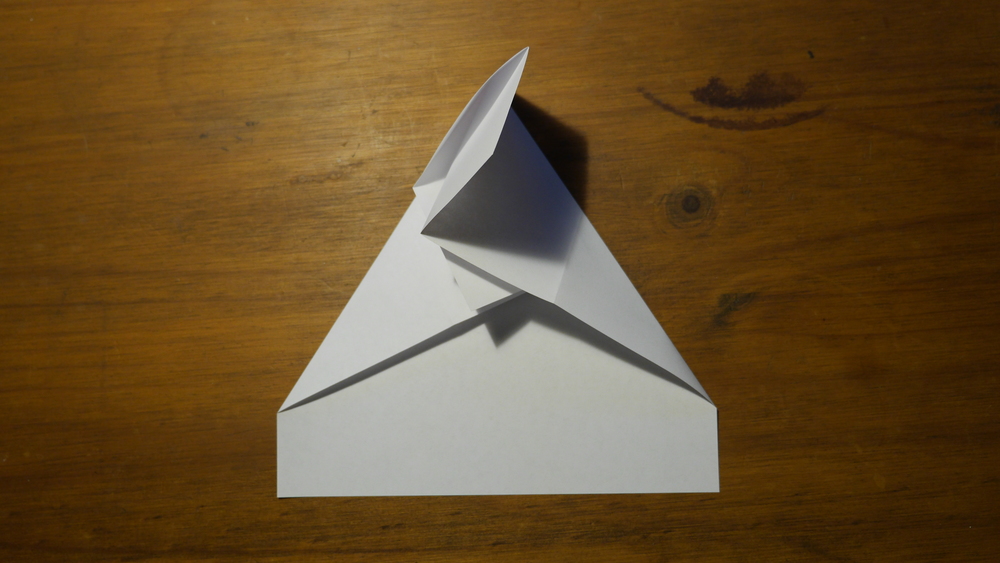
Fold the two corners of the outermost large triangle (formed by the waterbomb base fold) and bring them up to the front point of the plane.

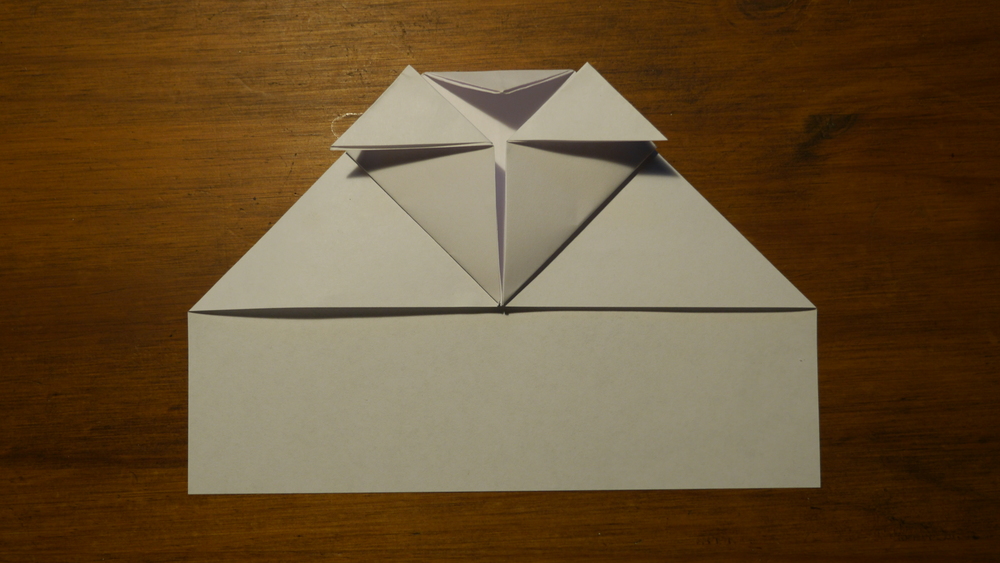
Take the points where the smaller triangles you just folded meet the center, and fold them out so they meet the outermost point on the triangle.
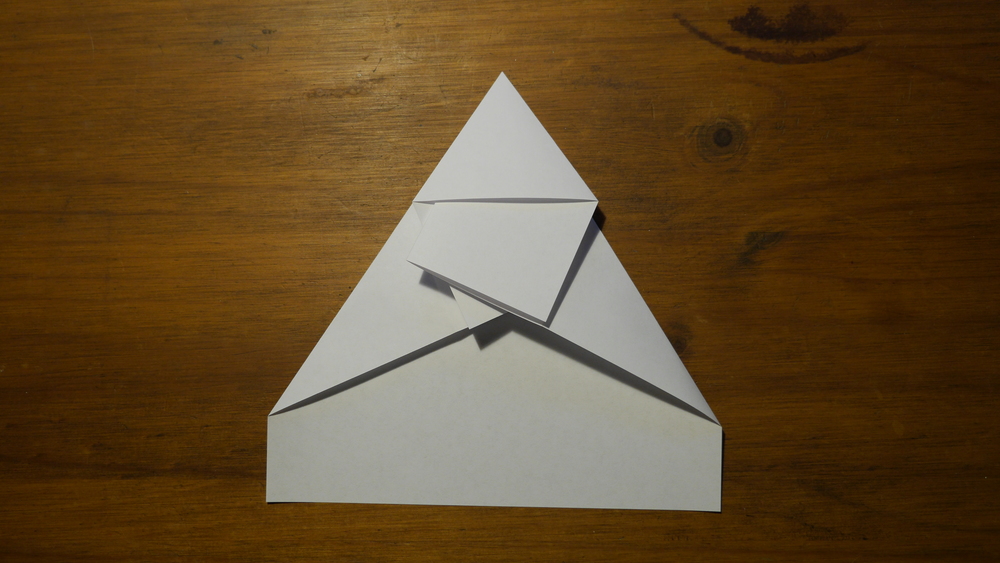
Fold the top of the plane down to fit in the happy little square made by folding back the tops of the triangles in the previous fold.
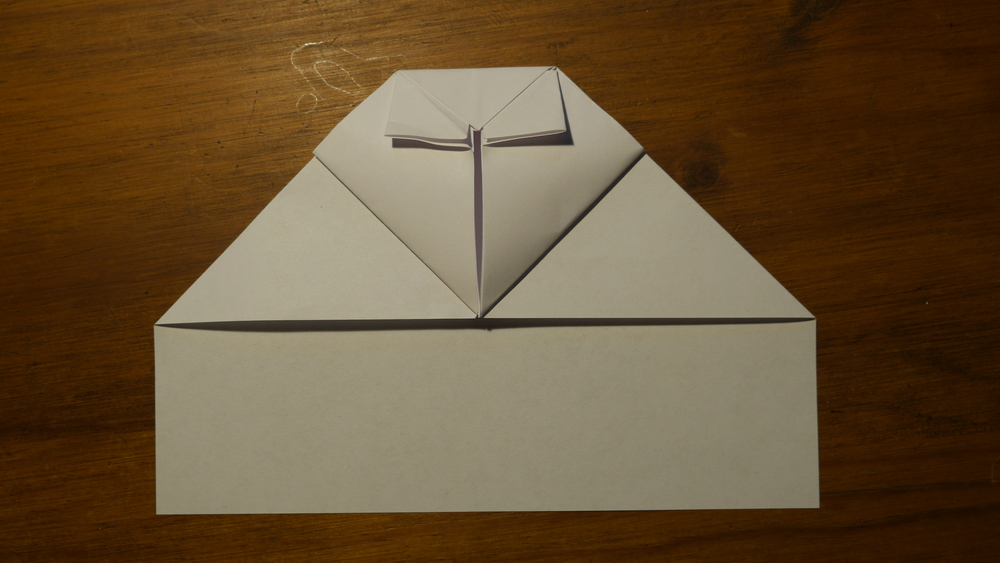
Take the smallest triangles and flatten them into squares.

Insert the innermost corners of the squares into the little openings in the folded-back part of the nose.
Fold it in half, then take each wing and fold it to meet the center.
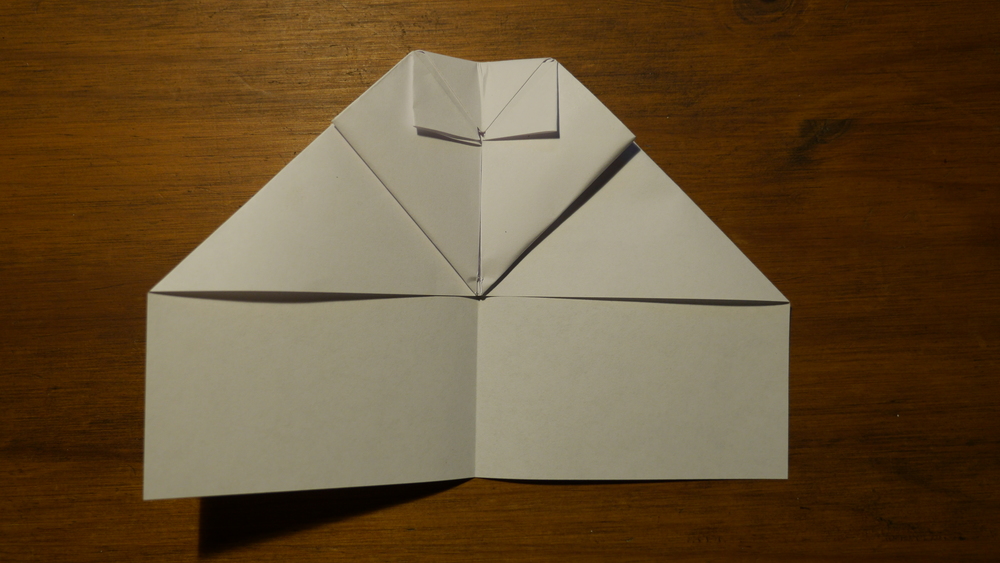

Then, fold those quarters out to meet the edge of the plane.
That's all! To throw it, hold it between your pointer, middle, and ring finder (with your middle finger going on the valley side of the main body fold). It probably needs some tuning, but works fairly well.

Plane 2
Again, start with a full 8½ by 11 sheet of paper.
First, fold it in half, hamburger style.
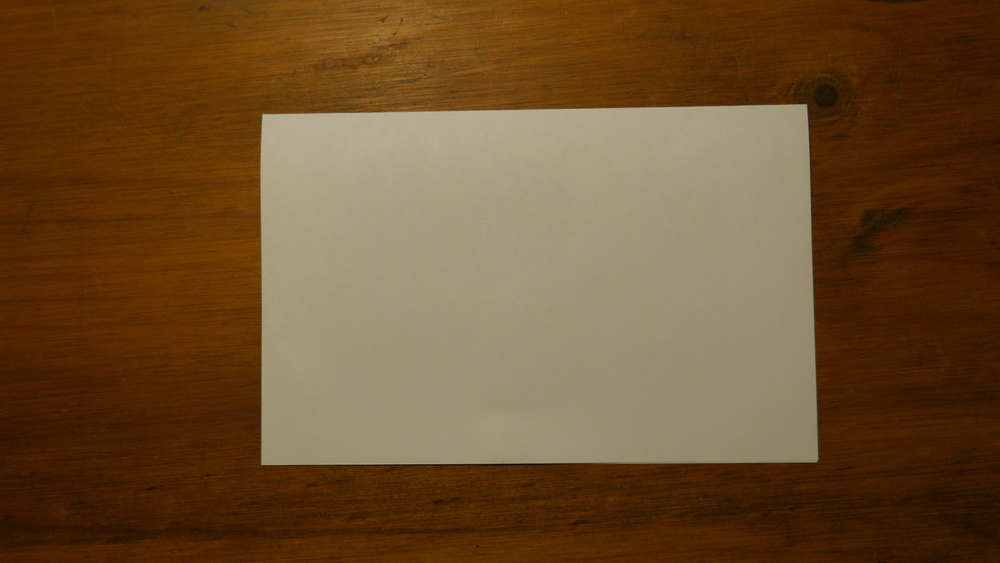
I know this looks like it isn't folded, but it's actually folded in half!
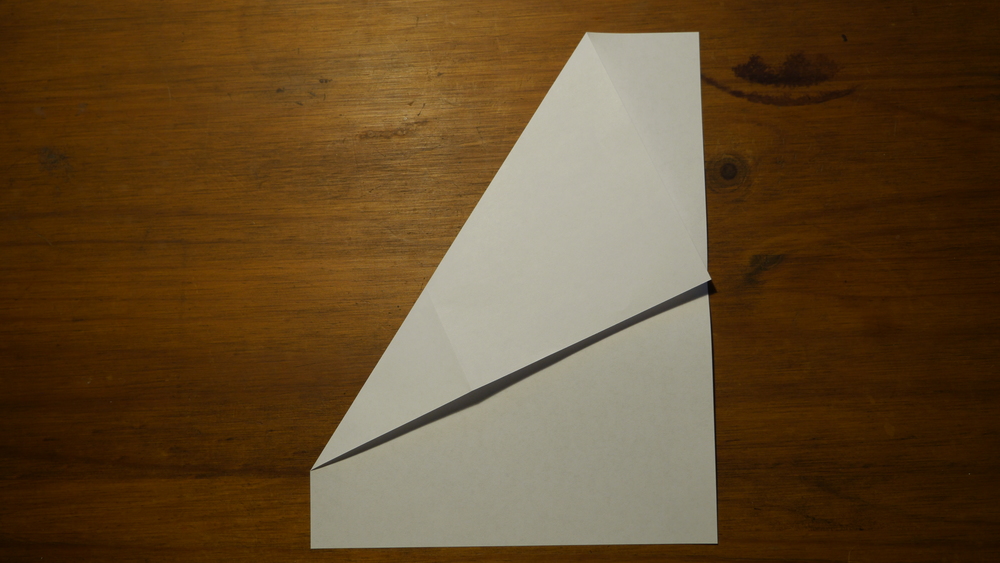
After unfolding it, take one of the upper corners and make it meet the opposite point where the halfway fold reaches the edge of the paper, then unfold it. Repeat it on the other side.
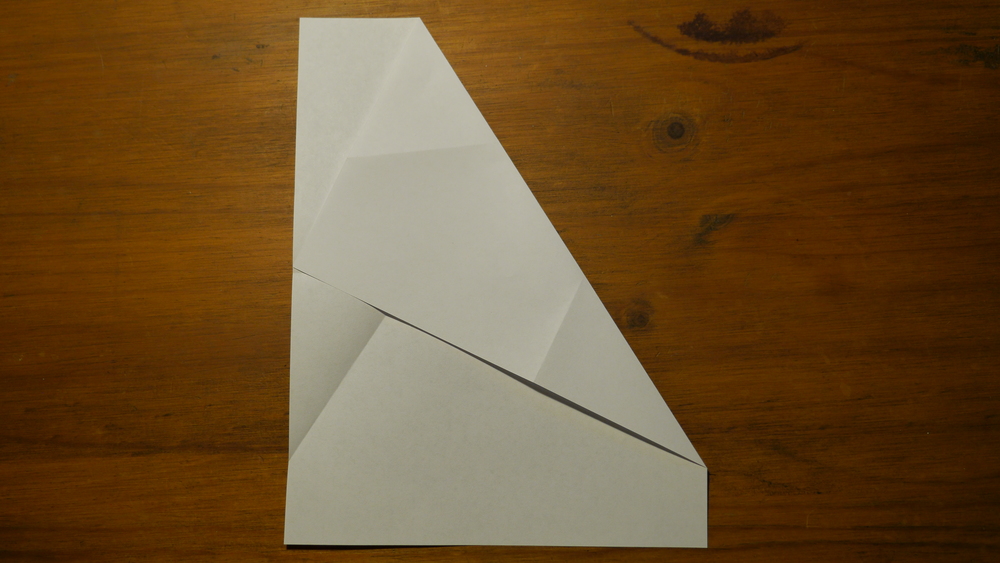
Flip it over, and fold horizontally at the point where the two diagonals meet. It's another waterbomb fold, but slightly different because of the different diagonal folding.

Flip it over again, then do the modified waterbomb fold. I have it shown in a few steps here, because there's some interlapping going on that makes it a little harder than the normal waterbomb base.
With that done, take the triangle that forms the point of the plane, and fold it over itself.

Fold the plane in half, then fold wings however you like. I like to make them slanting downwards slightly with a pretty minimal fuselage, but do whatever floats your boat (or flies your plane)!
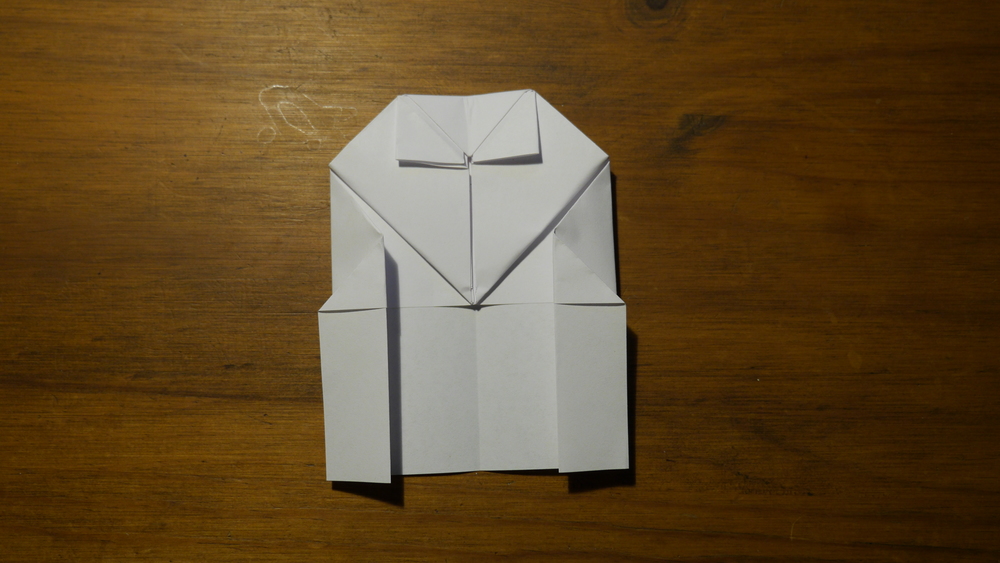
The final plane should look something like this:
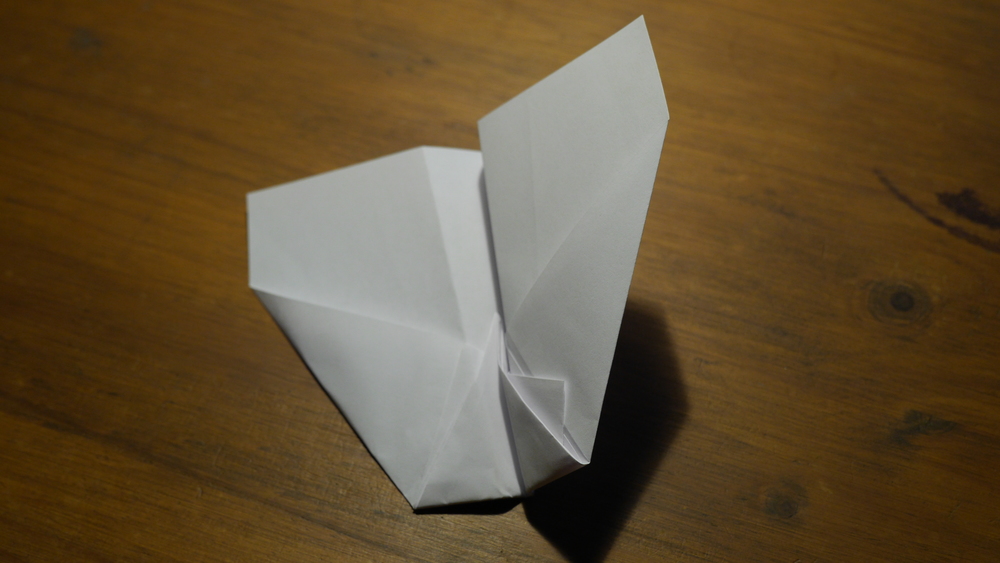
Good luck, and happy flying!